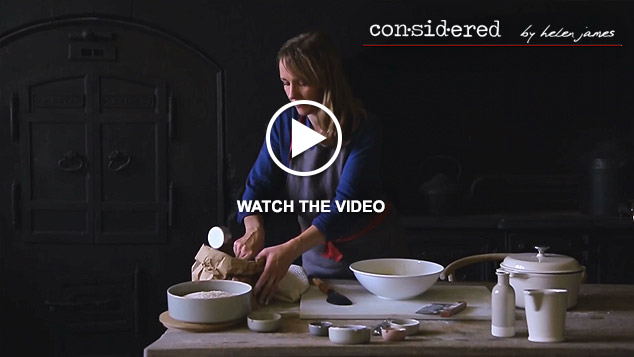
No knead bread
Are you scared of yeast? I ask you this because for years I was, I was a dab hand at a meringue and my shortbread had people ring ahead before they visited to see if a batch was in the oven, but bread, yeasted bread, baffled me.
Then one night at 10pm I was reading an issue of an American magazine and I read an article on someone who was making a bread with a crisp crust a soft chewy centre, large air holes ……and apparently he was doing it just by waiting, I was intrigued. I roused from my bed at that late hour and stirred together some flour, yeast, water and salt. The next day even though my hands barely touched that mass, by some magic alchemy I pulled from the oven not only the best loaf of bread I had ever made, but a really nice loaf of bread. That was it, I was hooked and so you will be too.
This recipe is for the easiest and most basic bread that has flavour and texture, we are going to start here. In the coming weeks I will show you how to up your skills and add techniques that will improve your end result far beyond anything you probably ever thought you could make. So, we are going to start with a really good bread and then things will just get better and better.
There is very little hands on work here but there are 2 things you will need- first, a cast iron crock pot and second, time. Don’t be put off by the long waiting game, this is where the magic is going to happen. Simply stir up your mixture go about your day and bake when ready. I find the simplest way to work with this is to figure out when I want to eat the bread and work backwards
Breakfast bread- make the dough last thing at night, shape first thing in the morning. Bread for dinner- make your dough in the morning, shape in the afternoon and bake off early evening.
RECIPE
NO KNEAD BREAD
Ingredients
- 400g (3 cups) bread flour
- 110g (1 cup) rye flour
- 1 teaspoon active dry yeast
- 1 tablespoon sea salt
- 360g (1½ - 2 cups) tepid water
-
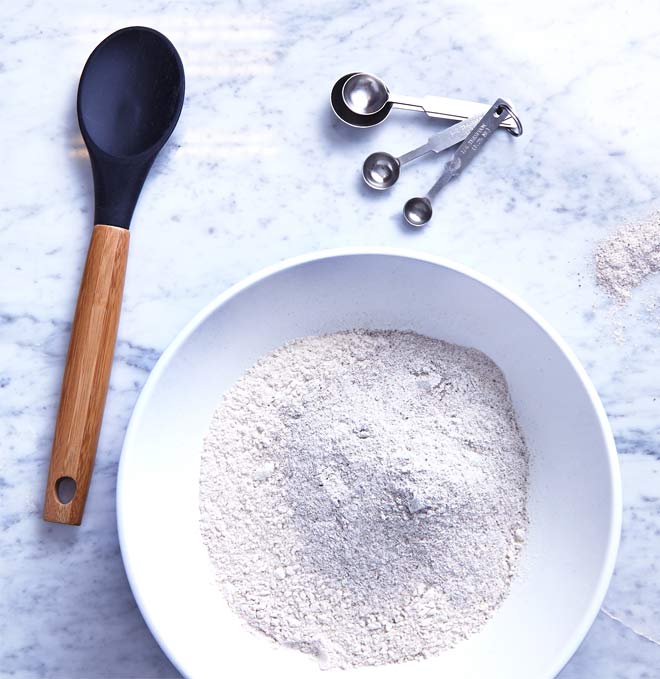
1. In a large bowl combine all the dry ingredients.
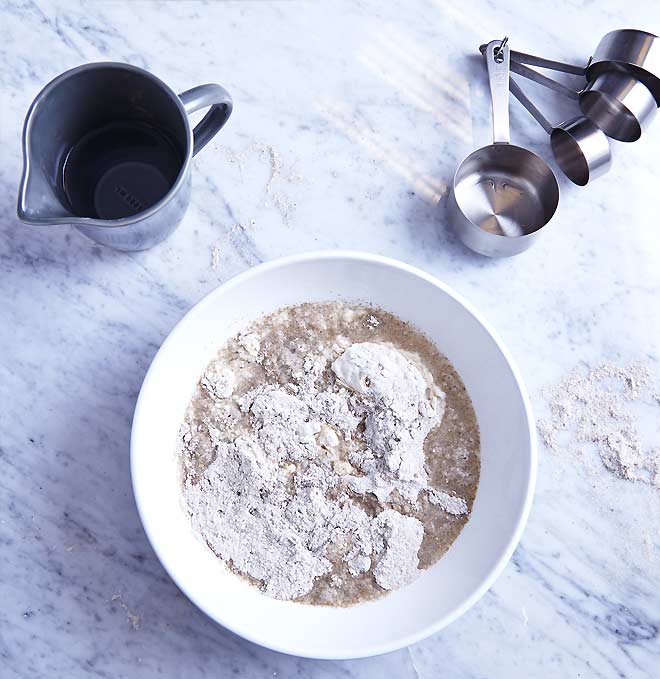
Add (1½ - 2 cups) tepid water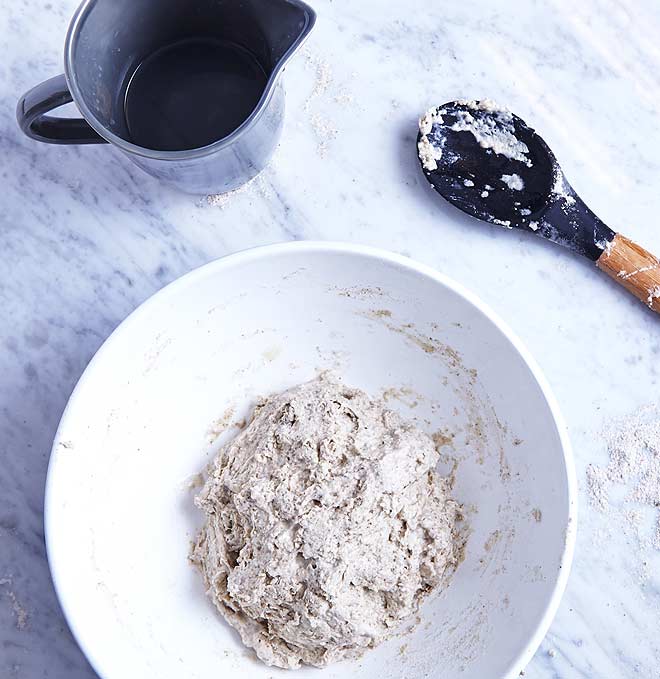
Mix together with your hand or a utensil for about 45 seconds. You should have a very wet and sticky dough if it feels a little dry add a tablespoon or 2 more of water. It will look lumpy, don’t worry the magic has yet to happen. - 2. Cover the bowl and let it sit for at least 6 hours at room temperature (you can leave it for up to 18 hours), the longer you leave it the better your bread will taste.
- 3. After your preferred amount of time lightly oil the inside of your pot and set aside. Generously flour your work surface and turn the dough out using a spatula to get all of the sticky dough out in one piece
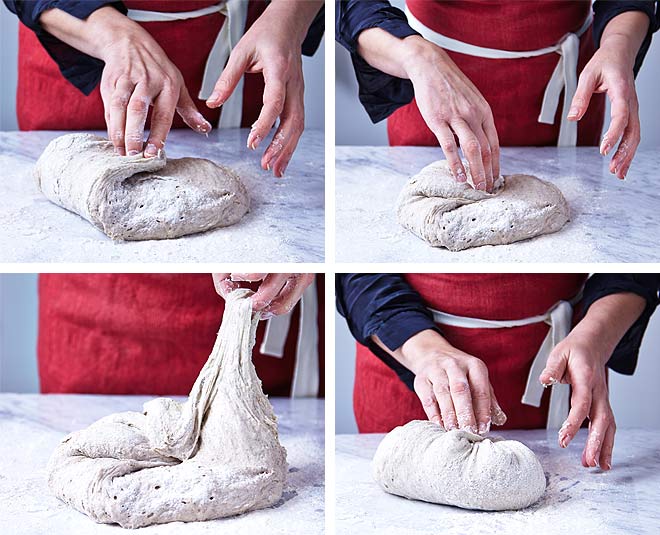
- 4. Lift the edges of your dough and pull into the centre, gently pressing it into the middle. Turn your dough after each lift, working your way around the whole dough. You are giving your bread structure but be careful not to incorporate too much flour from the work surface into your dough this will make it tough.
- 5. Keep pulling the edges in until you have a nice ball shape, lift the dough off the surface using a bread scraper or your hands and invert it into the oiled pot, so the seams are on the bottom of the pan. Leave for its final rest uncovered for 1 hour.
- 6. 30 minutes before the hour is up turn your oven on to full heat probably around 250°c (475°f).
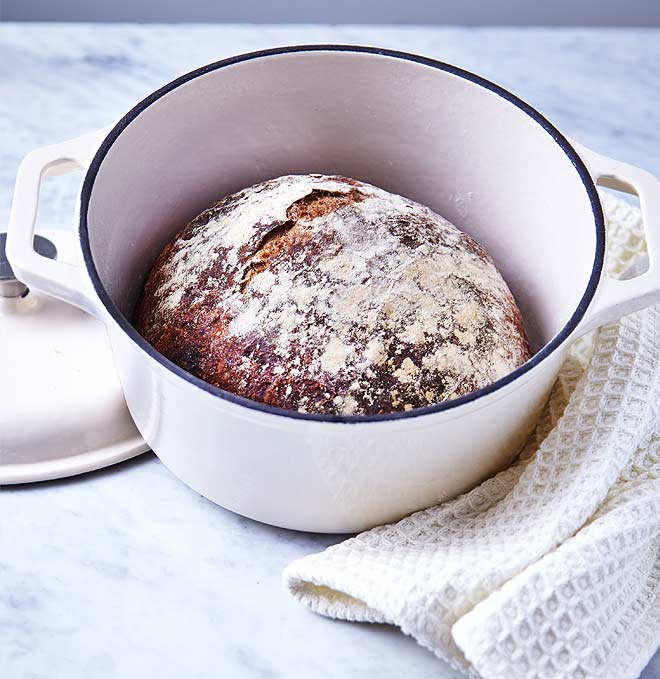
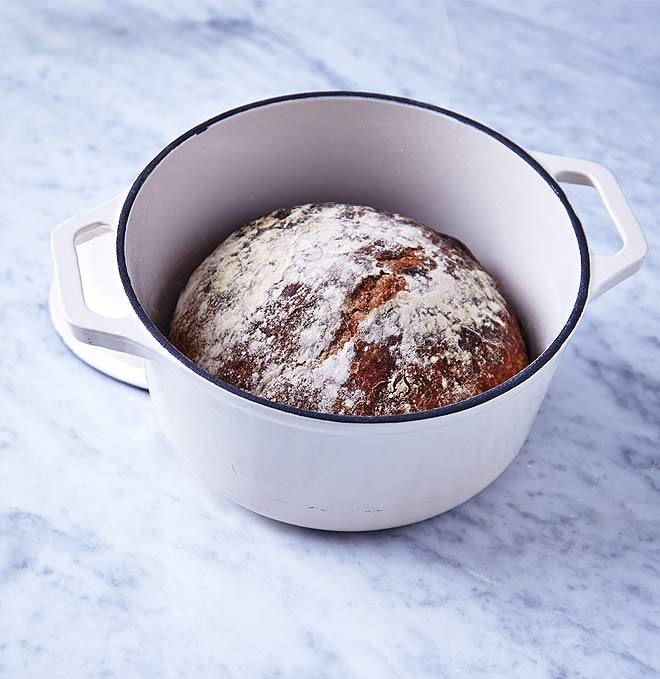
- 7. After the final rest slash the top of the dough with a very sharp knife. Work quickly and decisively- this will give your bread room to spring up once you place it in the oven. Put the lid on the pot and place in the centre of the oven for 30 mins. Remove the lid and continue baking in the pot for a further 15-30 mins. Make sure your bread is baked well but not burnt, times will vary depending on your oven. When you are satisfied with the colour of your bread remove from the oven taking care with the very hot pot.
- 8. Turn it out to cool on a wire rack. You should hear your bread “singing”, a quick crackling sound that is the crust shrinking and steam escaping- it is music to your bread making ears!
DO NOT cut into your loaf until it has completely cooled as it will still be cooking for up to an hour after it leaves the oven.When cooled, slice and enjoy because YOU made that amazing loaf of bread.
Let me know if you make this and how you get on #consideredbyhj
Products used: Cast Iron Pot3531100 Mercer Bowl3540108 Dough Scraper3513117 Waffle Tea Towel3511107
 Shop the Collection
 Helen James - About the designer
 Helen's Recipes & Tips
 Follow Considered on Pinterest